You can launch the following sub-analyses:
- Gene list analysis.
- Algorithmic filter analysis.
- SV analysis from VCF.
- Repeat expansion annotation from VCF file.
Gene list analysis
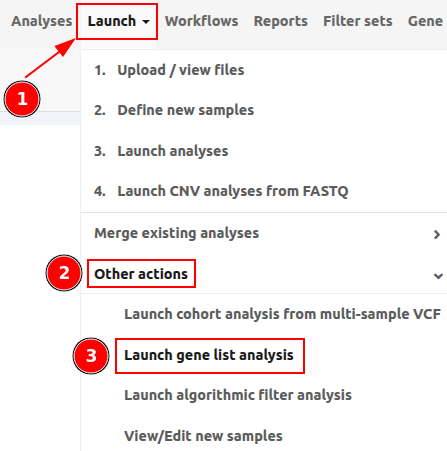
You can access Gene list analyses under "Launch" > "Other actions" > "Launch gene list analysis" as shown in the picture below.
Filter the results of a finished analysis to show only those variants falling within the genes given (including 500bp up and downstream flanking regions).
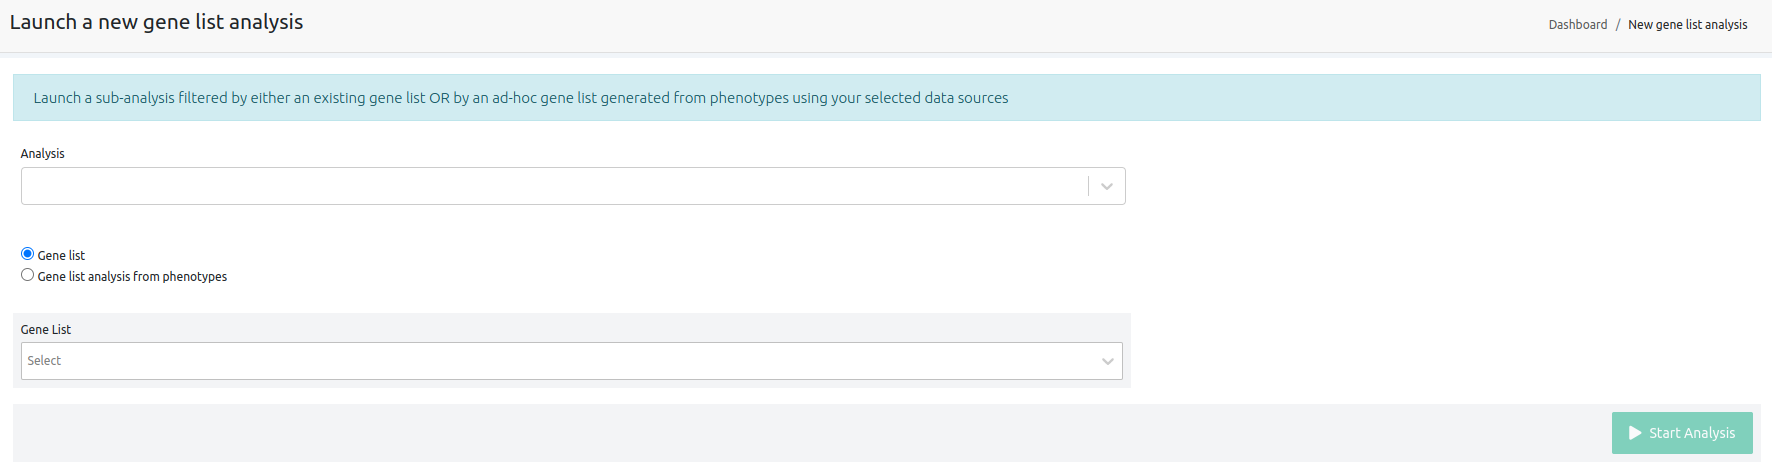
- Analysis: choose the analysis to be filtered.
- Gene List: choose a gene list to filter by.
- Phenotypes: choose a list of phenotypes. A gene list will be built using the genes associated with the chosen phenotypes. When building a gene list from phenotypes, you may choose to select genes associated with all of the provided phenotypes or genes associated with any of them.
When generating a gene list based on phenotype(s), we do not consider only those genes directly annotated with that phenotype. Instead, we first identify all diseases associated with the phenotype and then gather all genes connected to those diseases. Additionally, we include any genes that are directly associated with the phenotype itself. This method ensures consistency across analyses and prevents the omission of relevant genes when generating gene lists.
For more details check our Gene lists documentation.
Algorithmic filters
You can apply sophisticated filters to perform more complex variant filtering to finished analyses. For several of the existing filters we now provide the option to change specific parameters that used to be fixed. That way you can customize each of those filters according to your needs. For more information about the available Algorithmic filters check the document Available Algorithmic Filters.
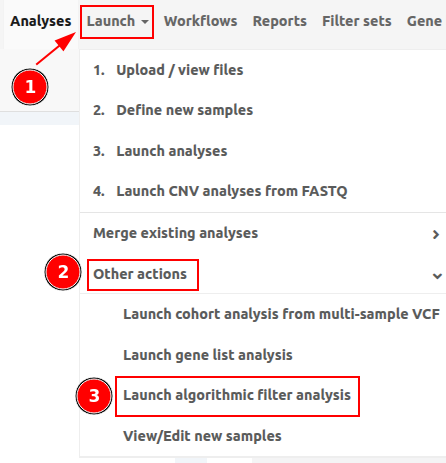
You can access the Algorithmic filter analyses under "Launch" > "Other actions" > "Launch algorithmic filter analysis" as shown in the picture below.
To start an algorithmic filter, choose the target analysis, select an algorithmic filter, and then click on "Start analysis".
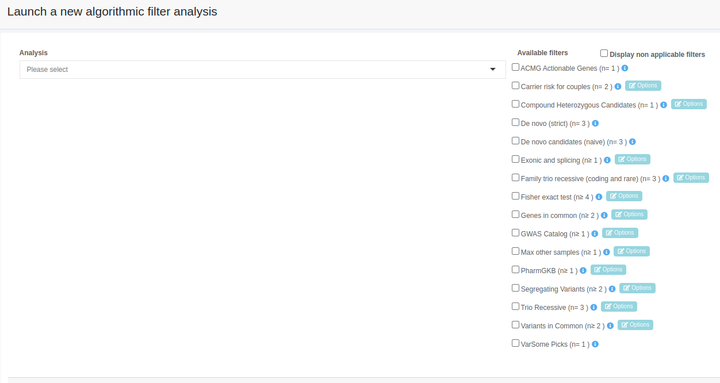
For further details on the algorithmic filter and the provided parameters please click on the info icon next to the “Options” button.
As you can see for several of the existing filters we provide the option to change specific parameters. That way you can customize each of those filters according to your needs.
If you want to change a parameter click on the light blue “Options” button:

For example, if you want to change the default parameters for the filter "Max other samples (n≥1)", after you choose from the drop-down the analysis to which you wish to apply one or more filters, you then need to select the filter "Max other samples (n≥1)" by clicking the relevant check-box, which will in turn activate the Options box.

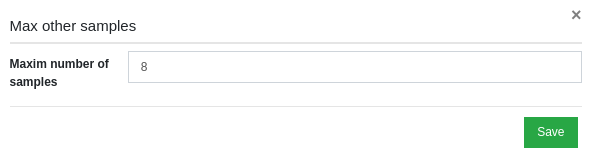
Now you can change the default value for this filter, by changing the number in the Maxim number of samples field and then by clicking on "Save".
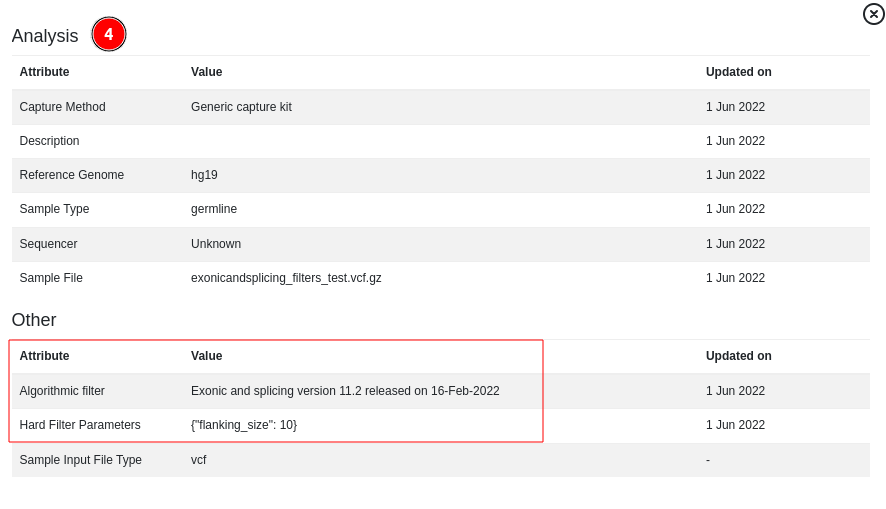
Once the analysis has run, you can view the filter options selected for the algorithmic filter analysis both in the sub-analysis name
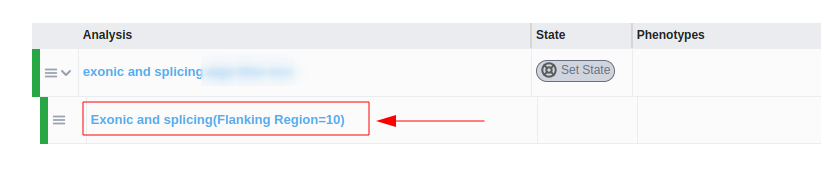
and in the “Sample analysis information” option of the “Analysis actions” menu:

SV analysis
Please, visit the articles SV annotation (from VCF) and CNV calling analysis to find out how to run a CNV analysis from FASTQ or how to annotate an SV analysis from VCF.
Repeat expansion analysis
Please, visit the article Repeat expansion annotation from VCF file to find out how to run a repeat expansion analysis from VCF file.
The sub-analyses will be displayed as an additional tab next to the analysis title on the main page of analyses. You can easily switch between analyses by clicking on the respective tab.
For further details, please refer to the following documentation Analyses' tabs.